
How to Apply
Replacement Decals
Tools Needed:
Squeegee
Scissors or scalpel blade
Cleaning solution (panel wipe, isopropyl alcohol, or rubbing alcohol – avoid white spirit)
Lint-free cloth
Slip solution (500ml water with 6ml baby shampoo in a spray bottle)
Surface Preparation:
Clean the surface thoroughly to remove wax, dust, or contaminants.
Wash with a grease-cutting detergent and rinse.
Wipe down with a cleaning solution and lint-free cloth.
Temperature: 10°C – 30°C
Avoid windy or dusty environments.
FRAME
Decal Fitting
Frame decals arrive with a clear application tape to help the fitting process. Trim around the decal if required using scissors or a craft knife.
Place the decal on a flat surface, smooth the tape out and rub your fingers applying pressure to the entire decal. This will ensure that the decal sticks to the application tape and will help it to come away from the paper.
Place the decal on a flat surface. Peel the paper backing off making sure the decal sticks to the clear application tape. If the decal is sticking to the backing and not the application tape you need to apply pressure in that area until it does.
Spray the frame and the sticky side of the decal with a slip solution.
Once the decal is where you want it, apply pressure to the decal. always working from the middle out to avoid bubbles. You can use a squeegee or your fingers. If very wet, you may need to keep trying until the decal sticks.
FORK & SHOCK
Decal Fitting
Before removing the old decals, mark their location with some masking tape.
Once old decals are removed, make sure any glue residue is cleaned away.
We recommend using a slip solution to apply the decals as this will allow you to slide the decal into the correct position. Spray the area and the sticky side of the decal with a slip solution and apply the decal.
Once the decal is where you want it, apply pressure to the decal. always working from the middle out to avoid bubbles.
You can use your fingers, or a squeegee but be careful as it may scratch. If very wet, you may need to keep trying until the decal sticks. It will eventually stick.
Once all the water is out, allow to dry for an hour or so and then press down all the edges to make sure they are all down.
WHEEL RIM
Decal Fitting
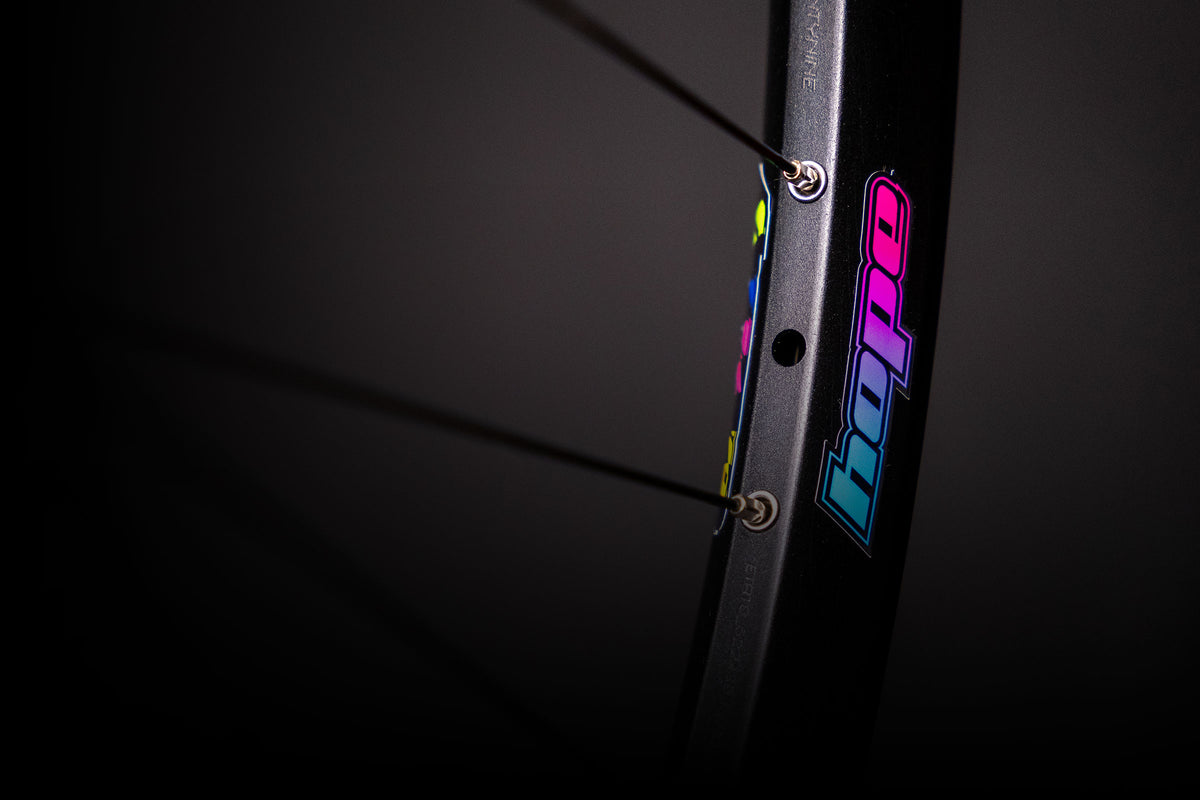
Rim decals are best installed dry. The curved rim also leans inwards so requires the rim decal to be worked dry along the curve.
A clean and degreased rim is essential.
Have the rim on a table and supported. An old lint free pillow is good or a box with a hole in the centre.
Work from the left. Attach a small area to hold in place.
With the right hand hold the right side of the decal up and away from the rim.
Smooth down a little at a time with a finger on your left hand.
Use the right hand to steer the decal along the rim.
Some rim decals when supplied with clear application tape are best applied wet with a slip solution (ZIPP, Scribe and Roval Terra C)


